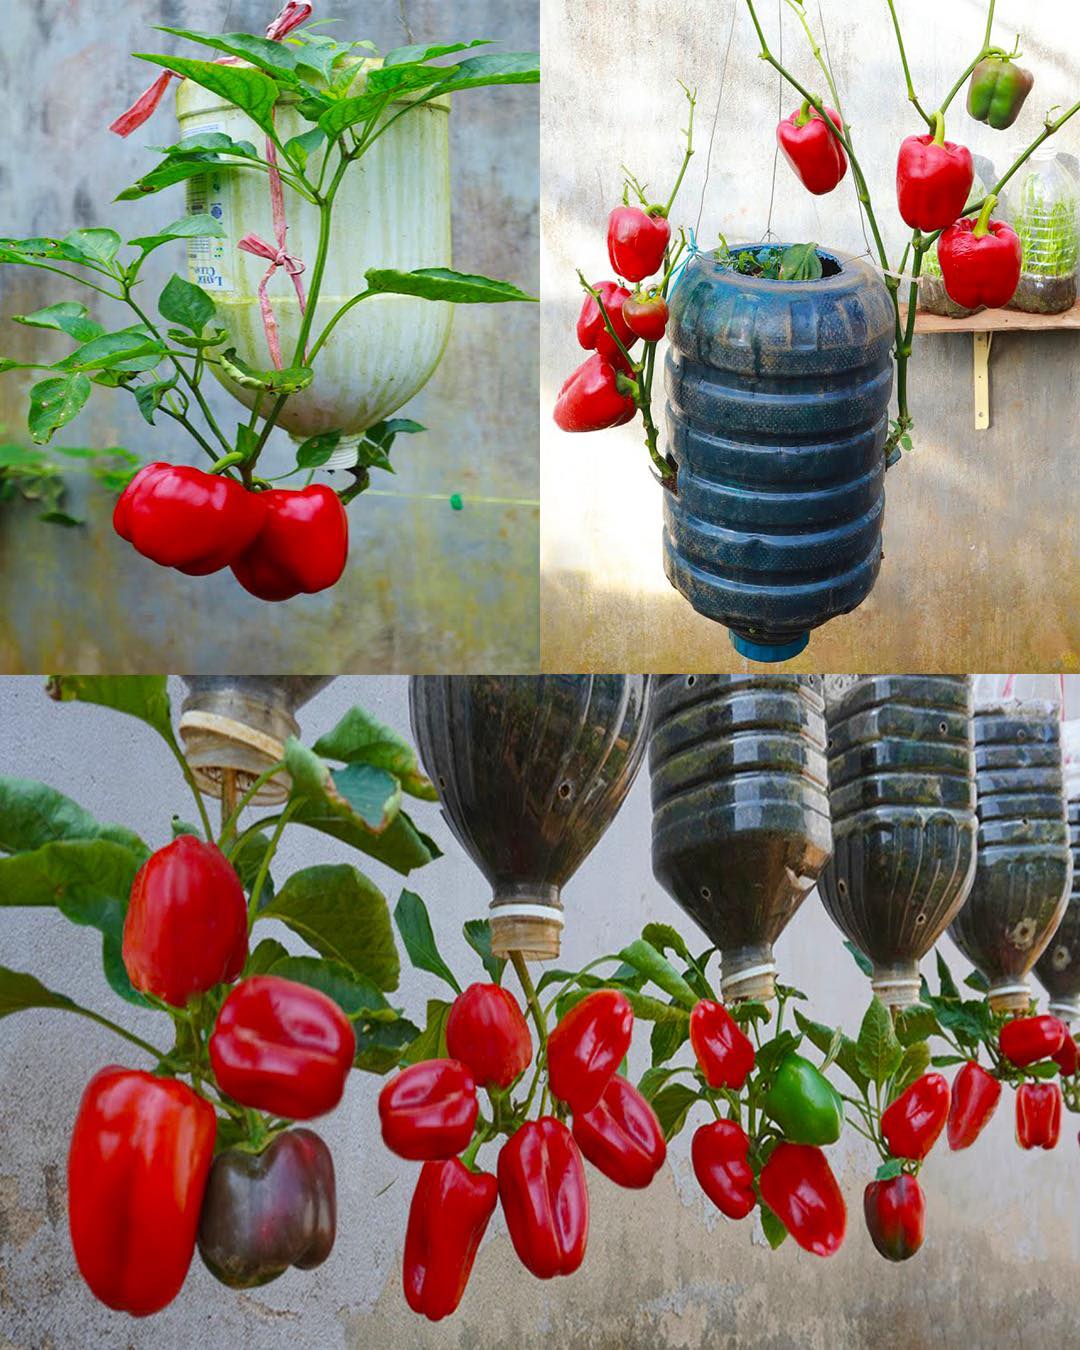
Part 1: Advantages of Upside Down Bell Pepper Cultivation
Cultivating bell peppers in an upside-down manner is not just a quirky gardening trend; it’s a practical solution for space-limited environments and comes with a variety of benefits:
Maximized Space Utilization:
Tailor-made for city dwellers with petite garden spaces, this vertical growing method is a game-changer, especially for balconies and compact backyards.
Enhanced Plant Health through Better Airflow:
The upside-down position ensures that bell peppers receive optimal air circulation. This is key in warding off moisture-related diseases that can thrive in less ventilated, ground-level gardens.
Protection from Ground-Related Hazards:
By being suspended in the air, bell peppers are less susceptible to soil-borne diseases and pests like slugs and snails, which commonly afflict ground-grown crops.
Simplified Plant Care:
This approach negates the need for traditional plant support systems like cages or stakes, making it a more straightforward and less labor-intensive gardening method.
Minimal Ground Work Required: The nature of this method means less interaction with the soil, leading to a decrease in common ground maintenance tasks such as weeding.
Targeted Water and Nutrient Delivery:
Watering from above, the roots receive a more direct supply of water and nutrients. This is particularly beneficial for the unique watering needs of bell peppers.
Part 2: Step-by-Step Guide to Setting Up Your Upside Down Bell Pepper Garden
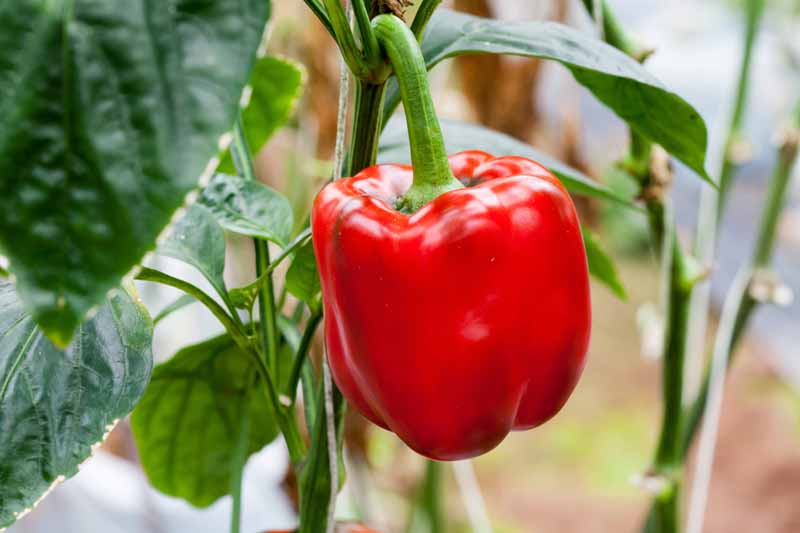
Creating your own upside-down bell pepper garden is both rewarding and straightforward. Here’s how you can get started:
Materials Needed:
- Reusable large plastic bottles (at least 2 liters, bigger preferred)
- Bell pepper seedlings
- Masking tape
- Punch or drill
- Sharp knife or scissors
- Durable twine or rope
- Quality potting mix or compost
Guide to Assemble:
Bottle Preparation:
Begin by thoroughly cleaning the plastic bottles and removing any labels. Cut off the bottom part of the bottle with a sharp knife or scissors for a clean edge.
Edge Smoothing and Hole Creation:
Use masking tape to cover any sharp edges created by the cut. Then, create four equally spaced holes near the cut edge for the twine.
Inserting the Seedling:
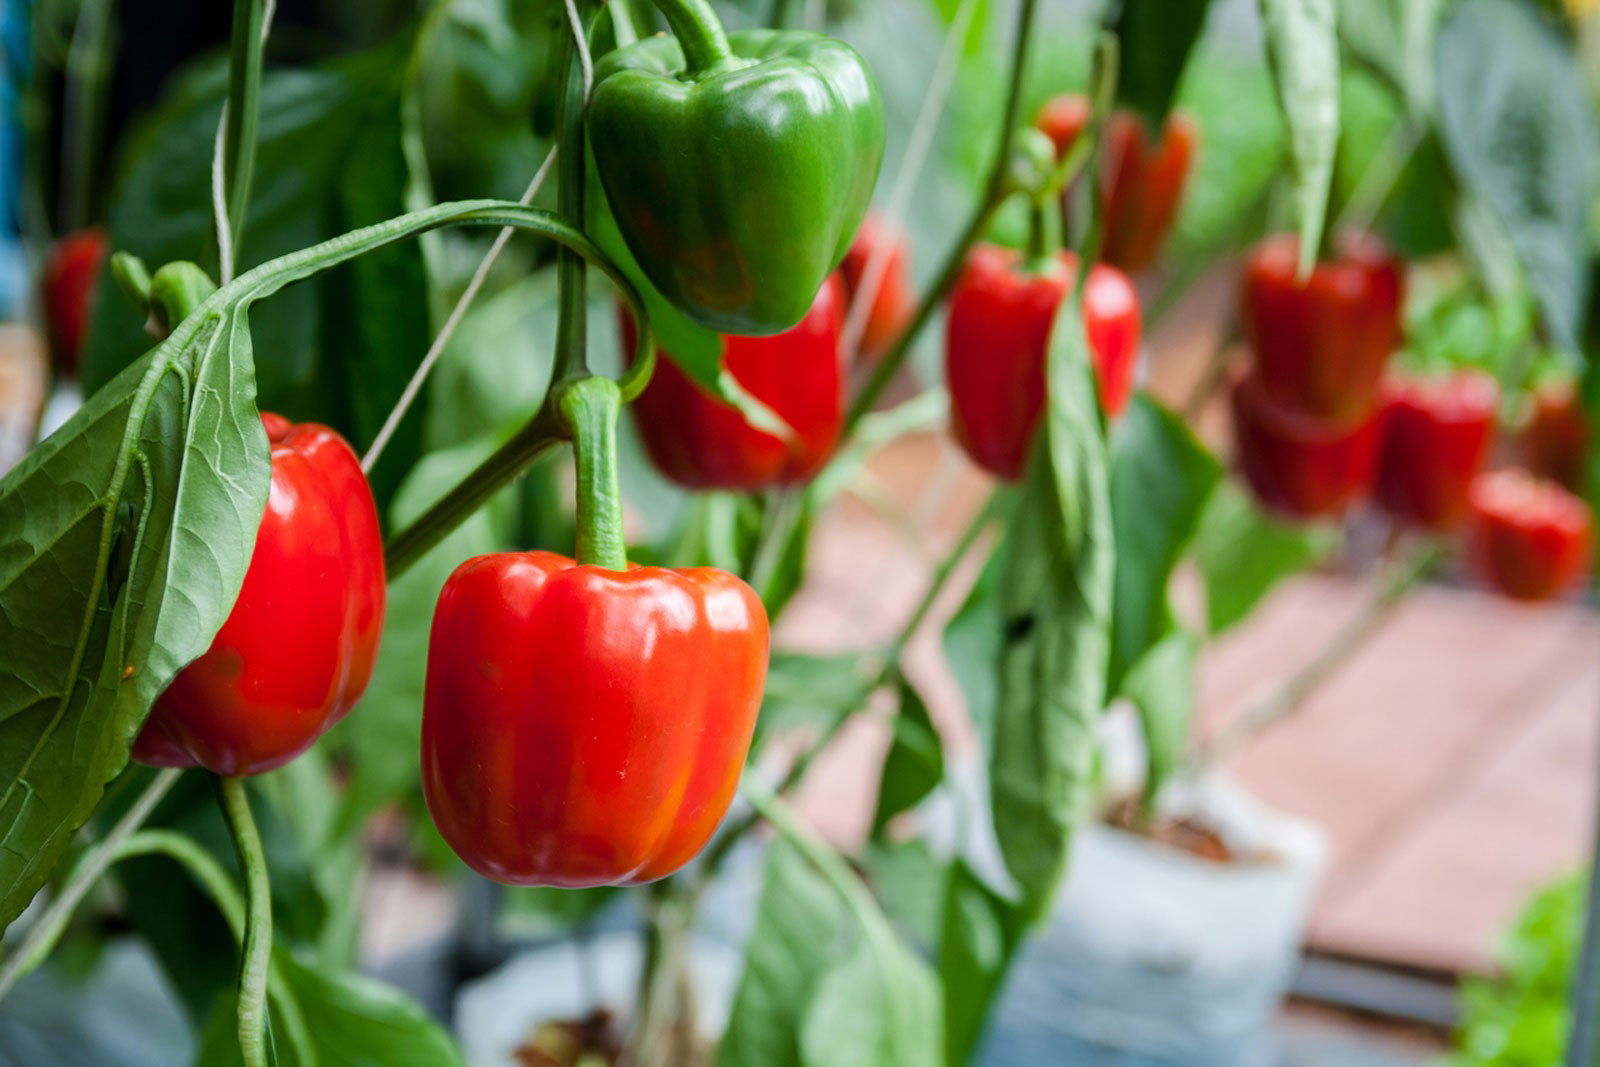
Flip the bottle so the original top is now at the bottom. Carefully place the bell pepper seedling inside, positioning it so that the roots extend into the bottle and the plant stems out of the neck.
Adding the Growing Medium:
Fill the bottle with a quality potting mix or compost, ensuring the roots are well covered and the soil is just below the bottle’s neck.
Securing the Setup:
Thread the twine or rope through the pre-made holes, ensuring a stable and balanced support for hanging.
Optimal Placement:
Hang your new bell pepper planters in a location that receives ample sunlight, as bell peppers thrive in well-lit environments.
Regular Care and Maintenance:
Monitor the soil moisture regularly, ensuring it remains damp but not waterlogged. Bell peppers will require consistent care for optimal growth and fruiting.
By following these instructions, you can effectively create a unique and productive upside-down bell pepper garden, perfect for adding a touch of green to urban spaces. This method not only saves space but also adds an intriguing element to your gardening, promising a satisfying and fruitful endeavor.

